REVIEW · AUCKLAND
Skydive Auckland
Book on Viator →Operated by Skydive Auckland Ltd · Bookable on Viator
18,000 feet sounds unreal. Skydive Auckland in Parakai turns that into a scheduled, guided experience, with a 17-seat turbine plane and tandem instruction aimed at giving you the views of a lifetime over New Zealand’s coastline and islands.
I especially like the sense of scale you get from the heights offered, including an 18,000 ft option described as the highest tandem elevation available in New Zealand. You’re not just doing a thrill for minutes on end; you’re getting a long look from above, including stretches tied to the east and west coasts, Waiheke Island, Piha Beach, and even Mt. Ruapehu and Mt. Taranaki on clear days.
One real consideration: weather drives everything here. If conditions aren’t suitable, you’ll need to call about it shortly before your jump and you may be offered a different date or a refund if it’s canceled for poor weather.
In This Review
- Key Points You’ll Actually Care About
- Where Skydive Auckland Happens (and Why Parakai Matters)
- Heights, Freefall, and the 17-Seat Turbine Plane
- Ground Time in Parakai: Briefing, Equipment, and Instructor Fit
- The Flight Up: What You’re Looking For Above Auckland
- The Exit and Freefall: 75 Seconds at 200+ km/h
- Under the Canopy and After the Thrill: Views While You Catch Your Breath
- Photos and Video: Buy Extras If You Want Proof
- Price and Value: What $214.10 Really Includes
- Who This Is Best For (and Who Should Rethink the Highest Option)
- Timing, Duration, and How to Plan Your Day
- Weather Rules: What Happens If Conditions Aren’t Right
- Should You Book Skydive Auckland?
- FAQ
- FAQ
- How long does the experience take?
- Where does the activity start?
- What heights can I choose for my tandem jump?
- How long is the freefall part?
- Is there a weight limit?
- What are the age rules for tandem jumps, especially at 18,000 ft?
- What should I wear?
- Does the price include equipment and the safety briefing?
- Are photo and video included?
- FAQ
- What if the weather isn’t suitable on the day?
Key Points You’ll Actually Care About
- 18,000 ft is available for tandem jumpers (with age limits)
- 75 seconds of freefall at 200+ km/h, once you’re out the door
- Parakai is the base, about a 45-minute drive from Auckland City
- Qualified, long-running operation with TripAdvisor Certificate of Excellence, Qualmark approval, and NZPIA affiliation
- Bring comfortable clothes and secure shoes, trainers recommended
- Photo and video are extra, so budget for that if you want keepsakes
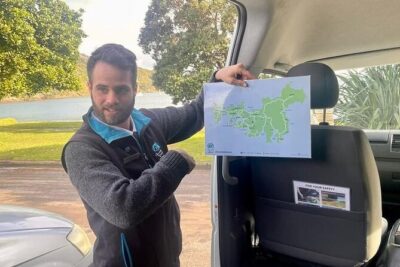
Where Skydive Auckland Happens (and Why Parakai Matters)

Skydive Auckland is based in Parakai, and that location matters more than you’d think. You get the big-city convenience of being near Auckland, but the jump itself is run from a dedicated operation away from the noise of the city.
The meeting point is at West Auckland Airport, Parakai, at RD 1, 76 Green Road, Helensville. Even if you’re staying in Auckland proper, it’s still a short enough ride that the full experience stays realistic for a day trip rather than turning into a whole vacation block.
They also offer round-trip hotel transport to the launch point in Parakai. That’s one less stressor when you’re dealing with early check-in energy and the fact that weather can alter plans.
You can also read our reviews of more tours and experiences in Auckland.


Heights, Freefall, and the 17-Seat Turbine Plane
This is a tandem jump, meaning you’re attached to your instructor from start to exit. The key info here is that freefall is about 75 seconds, and the speed is listed as 200+ km/h. That combination is why the experience feels intense without lasting forever.
The operator describes multiple height choices: an option as high as 18,000 ft, plus packages from 13,000 ft and 9,000 ft. If you’re comparing this to other places, the value is in how clean the decision is: you pick the height level that matches your comfort, and the rest is run for you.
You’ll be flying in a 17-seat turbine plane, and that detail is worth noting. A smaller plane can feel more personal and helps the day stay organized, especially when you’re going with friends. It also means you’re more likely to notice what’s going on around you while still focusing on the instructor’s cues.
Ground Time in Parakai: Briefing, Equipment, and Instructor Fit

Before you’re anywhere near the door, you’ll do a full safety briefing. This isn’t just a formality in the way some thrill activities can be; it’s the part that helps first-timers and nervous people get their bearings fast.
You don’t need to bring a bunch of specialty gear. The basics are simple: wear comfortable clothes and secure shoes (trainers/sneakers are suggested), and you’ll be fitted with what you need. The plan is set up so you can show up, listen, and get ready without trying to guess what will work.
Your instructor is the real anchor of the day. Names show up in the experience feedback in a way that tells me staff focus on the human side, not just the logistics. Owen is specifically mentioned by name with praise for guiding people who were nervous and helping make the jump feel manageable.
For comfort, I suggest you treat the briefing like your main event. Ask anything you want right then, before you’re suited up. Once you’re strapped in, your job is mostly to trust the system and enjoy the moment.
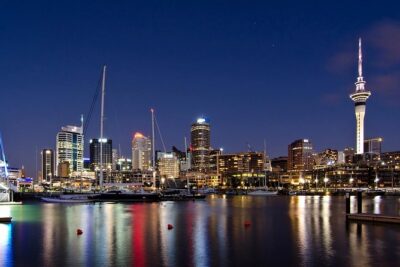
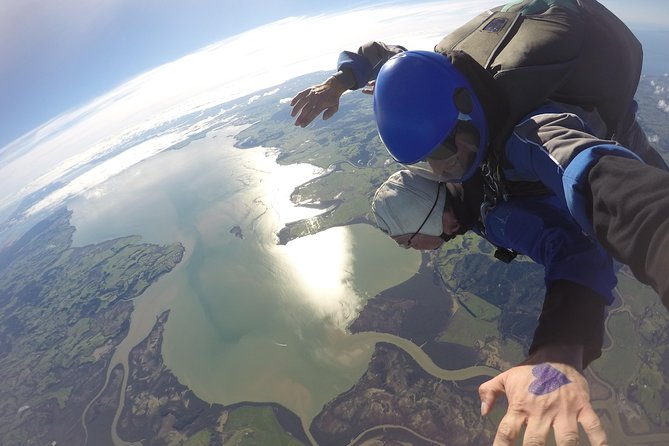
The Flight Up: What You’re Looking For Above Auckland
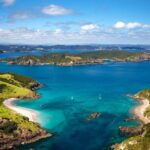
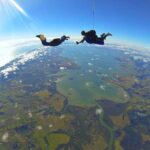
Once you’re airborne, the viewpoint becomes the star of the show. The information shared about the views is unusually specific: you can see the east and west coasts of New Zealand, Waiheke Island, Great Barrier Island, Piha Beach, and you may even catch Mt. Ruapehu and Mt. Taranaki from above.
That matters because it changes the emotional rhythm of the jump. Yes, freefall is the adrenaline hit, but the lead-up is what turns it into a lasting memory. You’re not staring at the ground through boredom; you’re watching the geography widen.
If you like coastal scenery, this is the kind of route that makes you feel like you’re flying over something real, not generic. And if you’re the type who’s been to beaches but never seen them from the air, you’ll likely be surprised by how different the coastline looks from that height.
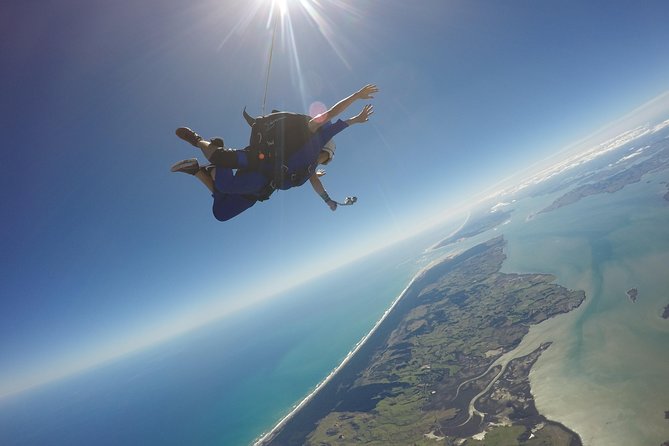
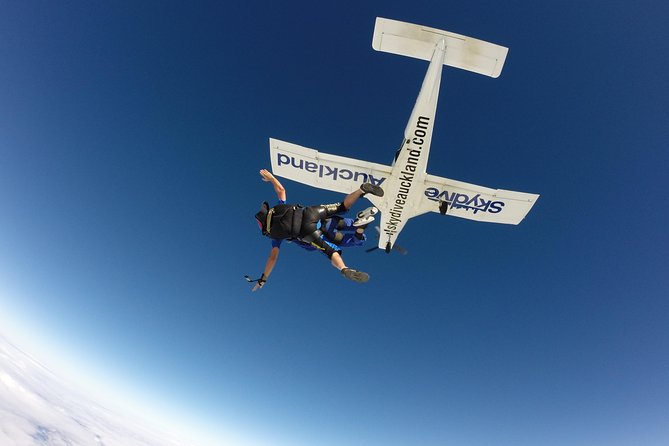
The Exit and Freefall: 75 Seconds at 200+ km/h
This is the moment most people remember—and the mechanics are clear. You’ll experience freefall for about 75 seconds, and the speed is listed at 200+ km/h. After that, your tandem instructor pulls the ripcord.
That sequence is important for your expectations. You’re not going from calm to fully controlled instantly. There’s a clear progression: speed builds, the rush hits, then the instructor transitions you after the freefall segment.
Also, note the “more than a minute” description in the overview language. Even if you land on the exact seconds depending on wind and conditions, the experience is meant to feel long enough to be thrilling and short enough to feel safe and contained.
If you’re worried about what you’ll do mid-air, that’s another reason people mention how much instructors help. You don’t have to figure it out. Your job is to follow cues and let your instructor take care of the body mechanics.

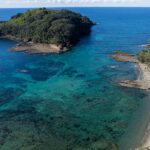
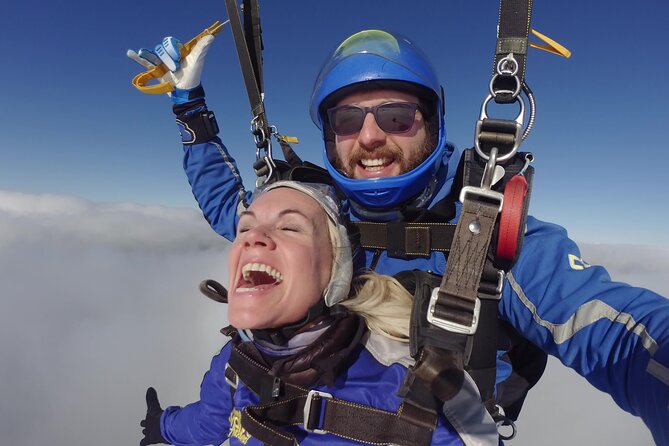
Under the Canopy and After the Thrill: Views While You Catch Your Breath
After freefall, you still get time to enjoy the view. The operator describes soaking in coastal scenery from above, including rain forests and beaches. This is where you shift from survival-mode adrenaline into “wow, look at that” mode.
This is also where you start realizing why they emphasize the high elevation and the breadth of scenery. From the ground, you can drive past places and take photos quickly. From above, you’re watching coastlines, islands, and mountain shapes connect in one sweep.
If you opt for a lower height like 9,000 ft, you’ll still get the key effect: time to appreciate what’s around you and feel the steadier portion of the experience before landing. I like that the product isn’t all-or-nothing; it scales with your comfort level.
Photos and Video: Buy Extras If You Want Proof
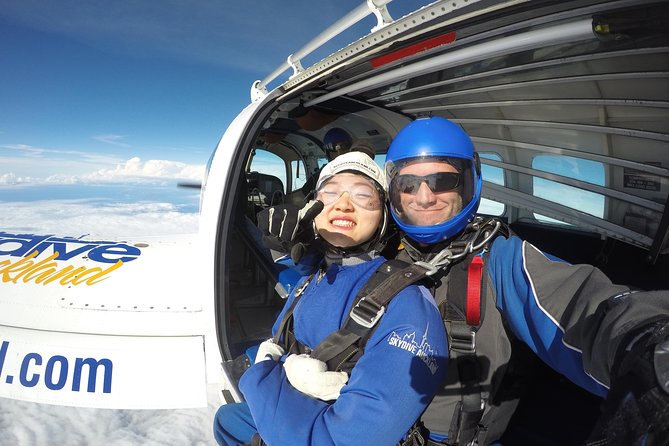
Photo and video packages are available to purchase on the day. That’s pretty standard for jump experiences, but it changes how you should prepare financially and emotionally.
If you want proof for friends or just a personal record, plan to spend a little extra. If you’re more interested in being present than capturing content, you can keep it simple and skip the extras. Either choice works, because the core value is the sensation and the aerial views.
My practical advice: decide once you see how you feel after the jump. If you’re buzzing and want keepsakes, go for it. If you’re already satisfied, you can walk away without regret.
Price and Value: What $214.10 Really Includes
At $214.10 per person, this isn’t the cheapest thrill you can buy in Auckland. But it’s also not priced like a gimmick. The value comes from what’s included and what those inclusions usually cost elsewhere.
Your price covers the tandem jump from your chosen height, all equipment, and the full safety briefing. It also follows a model where the instructor does the heavy lifting, so you’re not paying for complex gear prep on your own.
The optional items are where your budget can adjust. Photo and video are extra, and the transport question may depend on whether you use the offered hotel transfer. Still, even with that flexibility, you’re paying for a high-altitude tandem experience rather than an entry-level thrill with limited time in the air.
One more value point: trust signals. The operator notes a long industry history (over 20 years), and the listed credentials include Qualmark approval and NZPIA affiliation. In a category where safety and training matter, those badges help you choose with less guesswork.
Who This Is Best For (and Who Should Rethink the Highest Option)
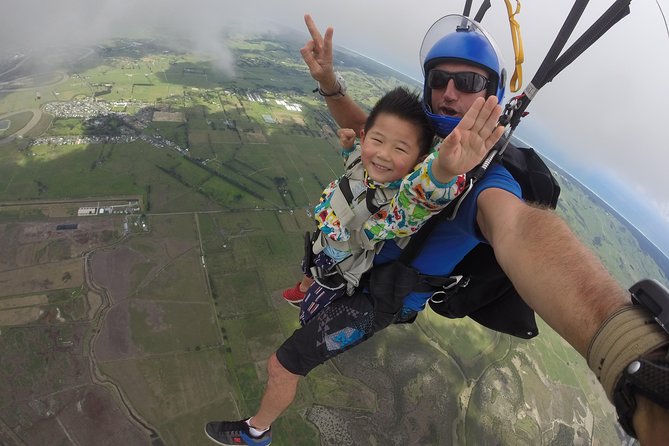
This is a strong choice if you want to do a first tandem jump in a place that’s built for it. The feedback focus on staff being excellent and instructors helping people who felt nervous lines up with what a first-timer needs: calm explanations and steady guidance.
It also fits teens and families, because there are clear age rules. If you’re under 18, you need to bring a parent or guardian. For the 18,000 ft option, the info says it’s limited to those who are 12 years or over.
There’s also a 100 kg weight restriction, so if that’s close for you, you should confirm before booking. And if you want to jump with friends, the 17-seat plane and the day setup are designed to handle multiple people together rather than making it a solo, scattered-feeling day.
If you’re someone who hates last-minute changes, the weather dependency could affect your stress level. But if you can handle flexibility, this becomes much easier to enjoy.
Timing, Duration, and How to Plan Your Day
The overall duration is listed as about 3 hours. That’s a helpful number for planning because it usually means you can fit this into a half-day slot rather than losing an entire day to waiting around.
You’ll also need to think about weather checks. They ask you to contact the team 1 hour prior to your booking to confirm that the weather is suitable. If it’s not, they’ll help you reschedule.
Because the experience requires good weather, I’d treat your day like: plan to do this, but keep the rest of the schedule flexible. If your trip is tight and this is your only possible window, you’ll want a backup activity ready.
Weather Rules: What Happens If Conditions Aren’t Right
This operation is explicit that weather conditions can change. If the jump can’t happen safely due to conditions, you’ll be offered a different date or a full refund.
That matters because it reduces the chance you’ll end up with a half-run experience. It also means you should prepare to be flexible with your schedule, especially during seasons when coastal weather shifts quickly.
In plain terms: you don’t control the sky. The good part is that they’ll work with you to make the plan happen when conditions are right.
Should You Book Skydive Auckland?
If you want a tandem jump with serious altitude options and a view package that actually includes famous parts of the region, I think Skydive Auckland is a solid pick. The combination of up to 18,000 ft, long-feeling freefall, and the specific coastal and mountain sightlines makes it more than a generic adrenaline stop.
I’d book it if you:
- want the highest available tandem jump option
- care about seeing both coasts and major islands from above
- like the idea of going with a long-running, credentialed operator
- can be flexible if weather requires a reschedule
I’d reconsider if you:
- have tight scheduling with no room to shift
- are over the 100 kg restriction
- don’t handle uncertainty well when outdoor conditions can change
FAQ
FAQ
How long does the experience take?
The total experience time is about 3 hours.
Where does the activity start?
The meeting point is West Auckland Airport, Parakai, RD 1, 76 Green Road, Helensville 0874, New Zealand.
What heights can I choose for my tandem jump?
Options include jumping from as high as 18,000 ft, or choosing packages from 13,000 ft or 9,000 ft.
How long is the freefall part?
You’ll freefall for about 75 seconds, at speeds listed as 200+ km/h.
Is there a weight limit?
Yes, there is a 100 kg weight restriction.
What are the age rules for tandem jumps, especially at 18,000 ft?
If you’re under 18, you need a parent or guardian with you. For the 18,000 ft jump, it’s limited to those who are 12 years or over.
What should I wear?
Wear comfortable clothing and secure shoes, such as trainers or sneakers.
Does the price include equipment and the safety briefing?
Yes. The price includes the tandem jump, all equipment, and a full safety briefing.
Are photo and video included?
No. Photo and video packages are available to purchase on the day.
FAQ
What if the weather isn’t suitable on the day?
Weather can change, so they ask you to contact them 1 hour prior to confirm conditions. If it’s canceled due to poor weather, you’ll be offered a different date or a full refund.