REVIEW · AUCKLAND
Full-Day Auckland Discovery
Book on Viator →Operated by ELIM TOUR · Bookable on Viator
One city, seven stops, and great viewpoints all day.
This full-day Auckland loop strings together volcanic lookouts and shoreline scenes, then throws in a striking cathedral and a proper dose of culture at the museum.
I especially like two things here: the small maximum group size (8 people) and the chance of a very personable guide such as Israel. With pickup and dropoff, you also lose the stress of finding your way between scattered sights.
One consideration: lunch isn’t included, and Auckland Museum admission is not included too, so plan a little extra budget if you want the museum stop.
In This Review
- Key highlights before you go
- How the 7-hour Auckland loop works (morning or afternoon)
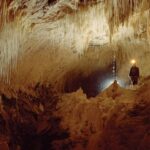
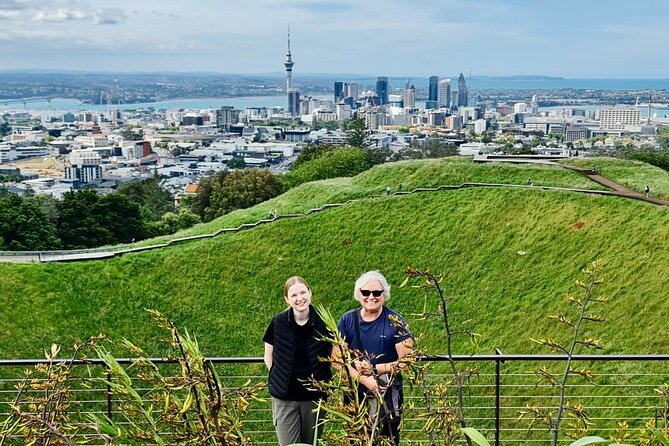
- Mount Eden: Auckland’s 196m volcano viewpoint
- Cornwall Park and One Tree Hill: city green with volcanic roots
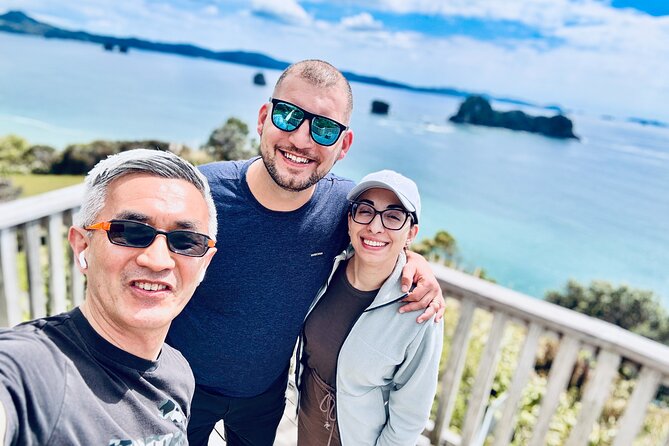
- Mission Bay at MJ Savage Memorial Park: gardens plus sea panoramas
- Holy Trinity Cathedral: Pacific-Gothic architecture in the middle of it all
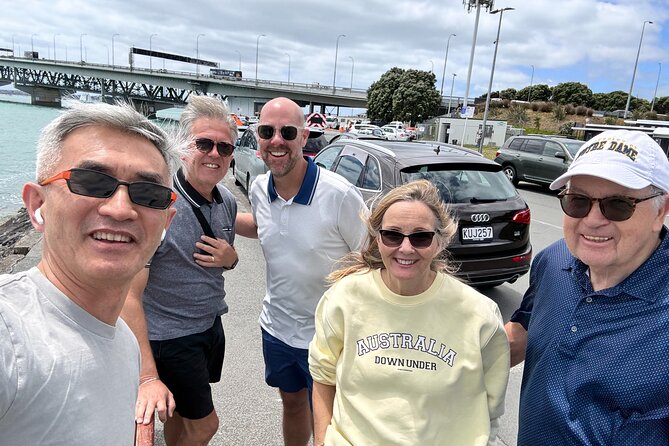
- Auckland Harbour Bridge: landmark stop with photo value
- North Head Historic Reserve and Devonport energy
- Auckland Museum: culture stop worth the extra admission
- What to expect for pace, comfort, and photos
- Price and value: $179.97 for a full-day, small-group route
- Should you book this Auckland Discovery tour?
- FAQ
- How long is the full-day Auckland Discovery tour?
- What’s the starting time?
- Is pickup and dropoff included?
- What’s included in the price?
- Do I pay admission fees at the stops?
- Is lunch provided?
- What’s the group size limit?
- Can I cancel for a refund?
Key highlights before you go
- Mount Eden: free admission, plus big skyline and harbor views from a 196m volcano.
- Cornwall Park / One Tree Hill: “nature inside the city” with trees, animals, and relaxed walking.
- Mission Bay at MJ Savage Memorial Park: garden space and east-to-west panorama views.
- Holy Trinity Cathedral: the world’s only Pacific-Gothic cathedral example.
- Harbour Bridge + North Head: landmark photos, then coastal views around Devonport.
- Auckland Museum option: Māori carvings and Pacific-themed exhibits, with museum ticket extra.
How the 7-hour Auckland loop works (morning or afternoon)
This is built as a single, guided day—about 7 hours—with a choice of morning or afternoon departure. The day includes pickup and dropoff at your place, which matters in Auckland, where “not far” can still mean a bunch of driving and parking.
You’ll be traveling in an air-conditioned vehicle, and you’ll have WiFi on board for downtime between stops. The group stays small (up to 8), so you’re not stuck watching from the back or waiting on a big shuffle line.
You’ll want moderate physical fitness for the viewing points and walking sections. Nothing looks extreme on paper, but Mount Eden and North Head are the kind of places where you’ll feel a few stairs and a bit of uphill.
You can also read our reviews of more tours and experiences in Auckland

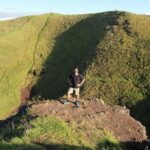
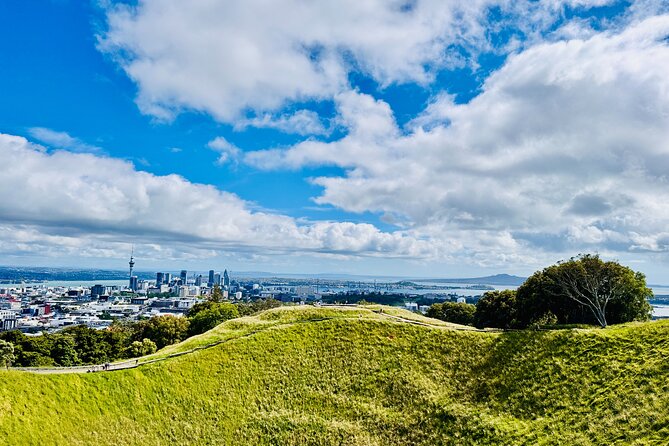
Mount Eden: Auckland’s 196m volcano viewpoint
Mount Eden is the kind of place you point to on a map and say, that’s Auckland. It’s the highest volcano among Auckland’s 52, standing about 196m tall.
The payoff is the view: from the summit you get sweeping panoramas of the city and the harbors. It’s also free admission, which helps because this tour packs in a lot of free stops and keeps costs focused.
A practical tip: plan to spend the full hour here if you can. The view changes as clouds drift, light shifts over the water, and you find different angles for photos. If you rush it, you’ll miss that “oh wow” moment when the harbor finally clicks into focus.
Cornwall Park and One Tree Hill: city green with volcanic roots
Next up is Cornwall Park, a major breather in the middle of a day of viewpoints. It’s described as the largest volcanic park in Auckland, and it includes One Tree Hill inside it.
This stop is shorter—about 40 minutes—but the goal isn’t a long hike. It’s more like a reset: trees, animals, and the feeling of stepping into nature without leaving the city center.
The best part for me is the contrast. After Mount Eden’s height and skyline, Cornwall Park gives you softer ground-level scenery. If you’re the type who enjoys wandering a little, this is where you can slow your pace and just look around.
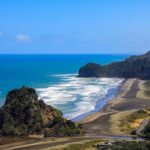
Mission Bay at MJ Savage Memorial Park: gardens plus sea panoramas
From the city-height stops, you shift toward the waterfront at Mission Bay. MJ Savage Memorial Park is positioned for east-to-west panorama views, and you also get garden space to break up the day.
You’ll also learn about Michael Joseph Savage, New Zealand’s first Labour prime minister (1935–1940). The memorial aspect adds meaning to the scenery, because this isn’t just a pretty viewpoint—it’s a place tied to a named chapter in the country.
This stop runs about 1 hour. I like that timing because it gives you room to take photos, read a couple of details, and still enjoy the calm. Just remember this is part of a tight full-day route, so keep your expectations realistic and don’t plan to turn it into a beach day.
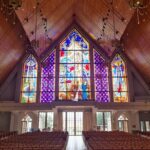
Holy Trinity Cathedral: Pacific-Gothic architecture in the middle of it all
Holy Trinity Cathedral is a quick-but-memorable cultural stop. It’s noted as the world’s only architectural example of a Pacific-Gothic cathedral, which instantly makes it more than a routine church visit.
The experience here is the sense of grandeur and beauty. Even if you don’t go deep on architecture, you’ll likely feel the scale and style as soon as you’re inside. The stop is about 1 hour, which is enough time to see what you came for without feeling trapped.
The cathedral stop also includes a chance to see St. Mary Church nearby. The tour doesn’t turn this into a long site study, but it does give you a structured pause that helps balance the day’s outdoor viewpoints.


Auckland Harbour Bridge: landmark stop with photo value
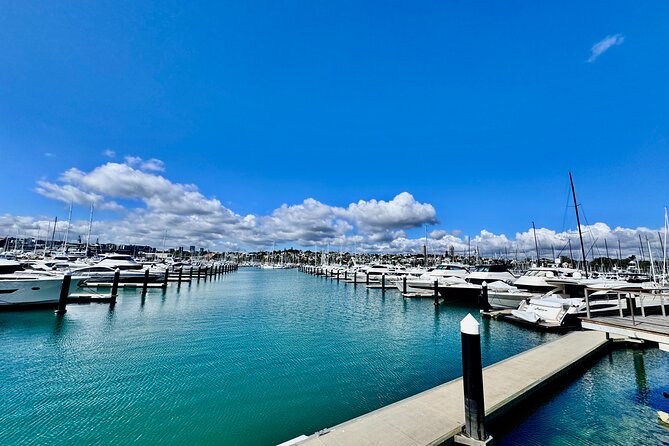
The Harbour Bridge stop is brief—about 40 minutes—but it’s placed right where it should be: as a “main character” view over Waitematā Harbour.
The bridge is described as crucial infrastructure across the harbor, linking the central business district to the North Shore. That context helps when you look at it in person, because it stops being just a photo subject and becomes a living part of the city.
I think this timing works. You’re coming off cathedral and viewpoints, and then you get a clear, iconic scene that’s easy to enjoy on your own for photos, then roll into the next coastal segment without mental whiplash.
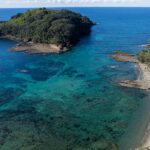
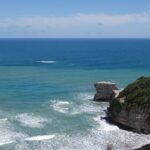
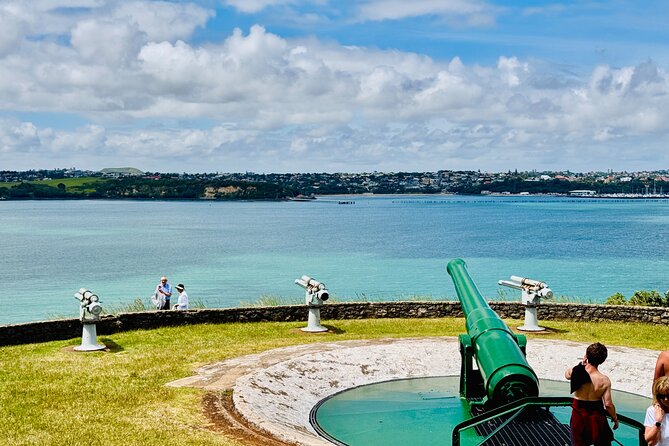
North Head Historic Reserve and Devonport energy

After the bridge, the tour shifts toward Devonport vibes via North Head Historic Reserve. The idea here is to get a taste of a quaint seaside village just across by ferry from central Auckland.
Devonport is described as having boutique-lined streets and the chance for café treats, plus that relaxed coastal feeling. Then North Head Historic Reserve adds the “look back at the coastline” angle, with about 1 hour on this stop.
What you’re really getting is a change of pace. Auckland can feel like city + suburbs + water, and this part of the day makes that relationship obvious: the city’s right there, but the coastline still gives you space to breathe.
A practical point: this section tends to be better for photos and short strolls than for long sits. If you like stretching your legs, bring a little patience for the fact that this is a stop inside a bigger day.
Auckland Museum: culture stop worth the extra admission
The day ends with Auckland Museum, time set aside for about 1 hour 30 minutes. Admission for the museum is not included, so this is optional in the budget sense, even though it’s part of the route.
Still, it’s a solid cultural anchor. The museum is described as a treasure trove of New Zealand’s culture, history, and natural wonders. You’ll find Māori carvings, Pacific legends, and exhibitions that vary depending on what’s on when you visit.
Even if you’re not a “museum person,” this stop can be a good match because the day has been mostly outdoor viewpoints. A museum break helps you switch gears and understand the region beyond skyline photos.
Tip for planning: if the museum ticket adds up for your group, treat the museum time as a focused visit—pick a couple of highlights you care about and don’t try to see everything.
What to expect for pace, comfort, and photos
This tour runs a tight loop across multiple neighborhoods, but the structure keeps it from feeling chaotic. You get designated time blocks at each stop, and the guide keeps the day moving with pickup and dropoff doing the heavy lifting.
Because it’s a small group, you’re more likely to get quick, practical guidance on what to prioritize. Guides who run this route—Israel is one example from past tours—tend to handle the day with a friendly, accommodating tone and clear context for the sights.
Bring the usual Auckland day kit: sun protection, a light layer (coastal wind is real), and comfortable shoes. If you’re the type who likes photos, you’ll probably want a bit of flexibility at Mount Eden and North Head, since those are where the best “wait for the perfect angle” moments happen.
Price and value: $179.97 for a full-day, small-group route
At $179.97 per person, the value is tied to three things: how much is included, how efficiently the day is organized, and how much you get without paying separate fees at most stops.
Here’s why this price can make sense:
- Pickup and dropoff at your place saves time and avoids the guesswork of public transport routing across scattered locations.
- You’re in an air-conditioned vehicle with WiFi on board for transit downtime.
- The day’s big hitters (Mount Eden, Cornwall Park/One Tree Hill, MJ Savage Memorial Park, Holy Trinity Cathedral, Harbour Bridge, North Head) are listed as free admission, so your money goes toward the experience, not a pile of entry fees.
The two costs that may bump your total:
- Lunch isn’t included.
- Auckland Museum admission isn’t included.
If you’re the kind of visitor who wants a first-pass overview with minimal logistics, this kind of all-in-one day tends to pay off. If you’d rather spend long stretches on your own schedule, you might feel the route is a little too “stop-and-go.”
Should you book this Auckland Discovery tour?
I’d book this if you’re:
- Short on time and want a clean highlights route across the city’s volcanic viewpoints and coastal scenes.
- Interested in architecture and culture, not only scenery (Holy Trinity Cathedral + Auckland Museum).
- A fan of small-group touring, where the day feels more personal and you can ask questions without a crowd.
I wouldn’t prioritize it if:
- You need a full lunch plan provided for you, or you strongly dislike paying add-on museum fees.
- You want lots of beach time beyond brief coastal viewing and quick village energy.
For most visitors, though, this is a smart way to get your bearings fast: height at Mount Eden, green reset at Cornwall Park, meaning at MJ Savage Memorial Park, culture at Holy Trinity and the museum, and then a coastal finale around North Head and Devonport-style charm.
FAQ
How long is the full-day Auckland Discovery tour?
It runs for about 7 hours (approx.).
What’s the starting time?
The provided start time is 9:30 am (with the option of choosing a morning or afternoon departure).
Is pickup and dropoff included?
Yes. The tour includes pickup and dropoff at your place.
What’s included in the price?
Included features are an English/Korean guide/driver, an air-conditioned vehicle, GST, and WiFi on board. You also receive a mobile ticket.
Do I pay admission fees at the stops?
Most stops are listed as free admission. Auckland Museum admission is not included.
Is lunch provided?
No. Lunch isn’t included.
What’s the group size limit?
The tour has a maximum of 8 travelers.
Can I cancel for a refund?
Yes, free cancellation is available up to 24 hours before the experience starts for a full refund.
If you want, tell me your travel dates and whether you’re leaning morning or afternoon, and I can suggest how to plan lunch timing around the museum and Mission Bay stop.